
Likely the focal point of whatever room it’s in, your area rug withstands regular traffic, which means it’s also privy to debris, stains, and dirt build-up. Regular maintenance vacuuming (as needed, or once a week or so) is a great way to keep your rug free of visible dust, dirt, crumbs, and other debris. But there comes a time, as with every surface or space in your home, for a more thorough clean that gets beneath the surface of what you can see or smell. Your rug would benefit from a deep clean once or twice a year—unless your rug is subject to excessively high traffic or it has noticeable spots or stains, in which case you’d want to clean sooner.

Photo Credit: Joe Lingeman
One way to tell if it’s time for your rug to get a deep cleaning: Rub your fingers on the surface of the rug in a circular motion for 10 to 15 seconds. If your hand has dirt on it, your rug needs some love.
Is your area rug ready for its annual deep clean? Here are some tips to help make the process easier!
How to Clean a Rug
While the rug-cleaning process can be a bit time-intensive (and require some torque, depending on how dirty it is), it’s not super complicated. You’ll only need a few tools to achieve a deep clean, most of which you probably already have in your home. To get started, grab your vacuum, a broom, your cleaner of choice (we like dish soap or a gentle, plant-based cleaner), a scrub brush, and a towel or squeegee.
1. Vacuum the rug
Before you clean the rug, remove any and all debris with a vacuum. Don’t forget the back of the rug, which may also have accumulated dust or dirt particles. You can also take the rug outside and prop it up on a fence or porch railing after vacuuming, then beat the back with a broom. It’s free of dust and ready to clean when you no longer see clouds of dirt when you whack it.
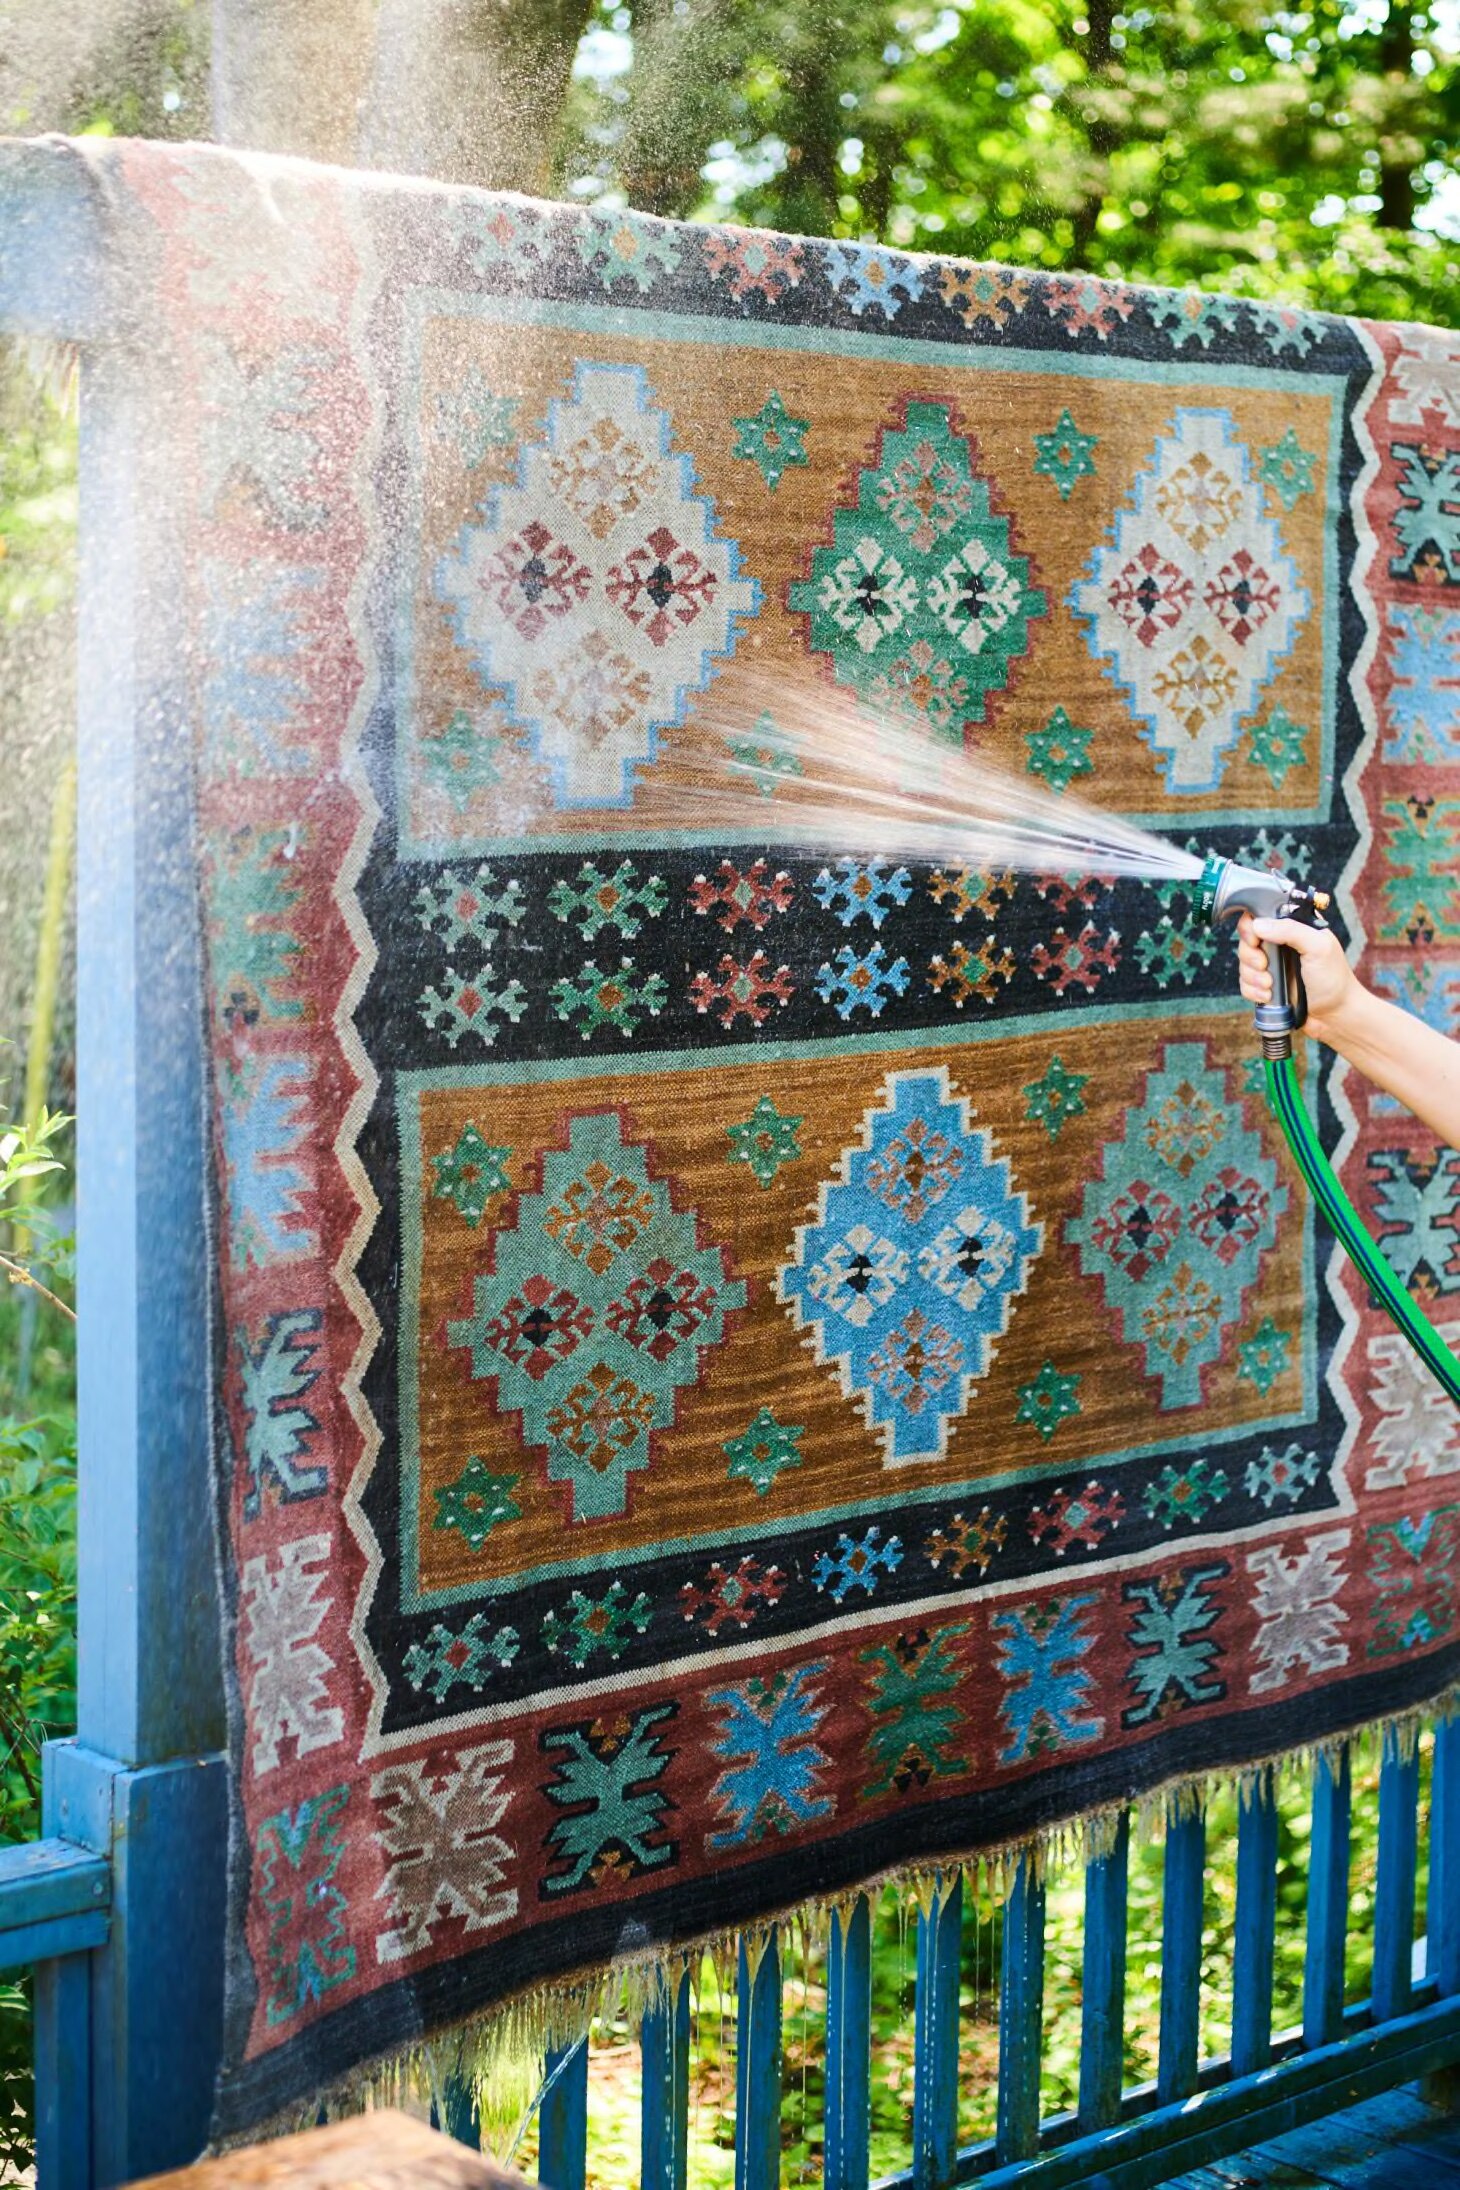
Photo Credit: Joe Lingeman
2. Test your cleaner
On an inconspicuous corner of the rug, test a few drops of whatever cleaner you plan to use for colorfastness, waiting for it to dry completely. If the color of the rug didn’t run, it’s likely safe to use. If the color did run, your rug might need special treatment at the dry cleaner. For cleaner, you can go one of two routes: a store-bought product specifically for carpet and rugs - or a DIY solution of 2 - 3 capfuls of liquid dish soap mixed in a bucket of warm water.
3. Clean the rug with a scrub brush
With a clean, soft-bristled scrub brush, work the cleaner into the rug’s surface until you see suds. Then, allow the cleaner to sit on the rug for 10-15 minutes. Stains or particularly high-traffic areas might need more scrubbing, more soap, or more time.
4. Rinse the rug with a hose
Either take your clean rug outside and spray it with a garden hose or, alternately, in your bathtub. The goal is to ensure there’s no soap left in the rug’s fibers.
5. Dry the rug
This part requires some patience. Use a clean towel or a squeegee to absorb the excess water in the rug, then let the rug air dry outside in the garden or on a drying rack inside. This process could take a day or two. When the rug is completely dry, it’s ready to go back on the floor!
For high-pile rugs or sisal, it’s best to spot-treat or take to a professional. Typically, throw rugs made of cotton or synthetic material can go in the wash, assuming they’re small enough to fit. Launder alone or with bath towels on a gentle cycle with the coldest water possible, then air dry.